

Planting Sedum Guide
Introduction
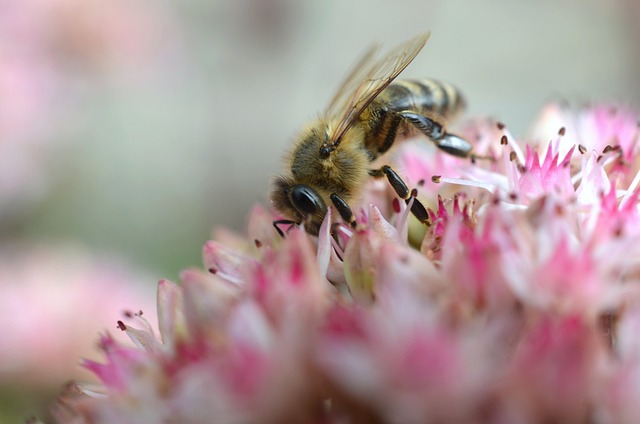
The world of sedums is enchantingly diverse, offering an array of colors, textures, and growth habits. These succulent plants are not just a garden enthusiast’s dream due to their attractive appearance, but also because of their resilient nature, making them perfect for both novice and experienced gardeners. Whether you’re designing a rock garden, a green roof, or simply seeking to add drought-tolerant greenery to your space, understanding the nuances of planting and caring for sedum can transform your garden into a year-round tapestry of color.
Understanding Sedum Varieties
Embarking on your sedum-planting journey begins with an appreciation of the vast family to which these plants belong. From the stonecrop varieties that hug the earth to the upright sedums that stand tall among other perennials, each type offers its own unique appeal. Groundcover sedums spread a carpet of foliage, perfect for filling gaps and spilling over walls, while taller species serve as excellent backdrops in floral arrangements. By selecting the right type for your garden’s conditions, you’ll ensure your sedum plants not only survive but thrive.
Choosing the Right Location
Like little solar panels, the fleshy leaves of sedum plants soak up sunlight. To see them flourish, choose a garden spot where they can revel in full sun to partial shade for at least four to six hours daily. Air circulation is another key to success; it prevents moisture from lingering too long after rain, mimicking the dry conditions of their native habitats. As you select the ideal location, consider how each sedum’s mature size will fit into your garden design, providing enough room for growth without overcrowding.
Soil Preparation for Sedum Planting
The saying ‘right plant, right place’ holds especially true when it comes to soil conditions for sedums. These plants favor porous, fast-draining soils as their roots are prone to rot in wet conditions. Preparing the soil properly is a cornerstone of success with these hardy yet delicate plants.
Step-by-Step Soil Preparation
- Begin by clearing your chosen area of weeds, grass, and other debris to minimize competition and pests.
- Aerate the soil thoroughly, breaking up compaction to a depth of 6-8 inches to encourage robust root development.
- Introduce a mix of sand or fine gravel into the topsoil, aiming for a ratio that will ensure swift drainage—about a two-inch layer should be sufficient.
- While sedums generally do not require rich soils, an application of a balanced, slow-release fertilizer can give them a good start, particularly in very poor soils.
Planting Your Sedum
Planting sedums at the right time can significantly enhance their chances of establishment. Spring offers the advantage of cooler, wetter weather for root growth, while early fall plantings benefit from warm soil and cooler air temperatures—ideal conditions for sedums to root without the stress of midsummer heat.
How to Plant Sedum
- Allow enough space for each plant to grow to its full size—this varies from 6 inches for petite varieties to 18 inches or more for larger species.
- When digging the planting hole, make it just as deep but wider than the root ball to encourage roots to spread outward.
- Gently tease the roots apart if they are pot-bound, which encourages them to grow into the surrounding soil.
- Position the sedum in the center of the hole, ensuring that the top of the root ball is level with the surrounding soil surface.
- Backfill the hole with the amended soil, pressing down firmly to anchor the plant and eliminate large air pockets.
- Water the area deeply to settle the soil around the roots and hydrate the plant, which is particularly important if you’re planting in a drier season.
Aftercare for Sedum
While sedum plants are considered low-maintenance, they still benefit from some basic aftercare to ensure a good start. Watering should be done deeply but infrequently, allowing the soil to dry out between waterings. Over time, your sedums will need little supplemental water unless you’re experiencing an extended drought. Deadheading, the process of removing spent flower heads, can encourage certain varieties to produce additional blooms and prevents self-seeding, which can be invasive with some species.
Common Issues and Solutions
Even the hardiest of plants can face challenges. Sedums are susceptible to a few pests, such as aphids and mealybugs. Regularly inspect your plants and treat any infestations with insecticidal soap or neem oil. Overly wet conditions can lead to root rot, so it’s vital to ensure that your soil’s drainage is effective.
Conclusion
Sedums are a marvelous choice for gardeners looking to add resilient beauty to their outdoor spaces. By adhering to these guidelines, you’ll create a thriving sedum display that will enchant throughout the seasons.
Some additional links:


Unique Garden Tools

Shop Our Gardening Gift Boxes

5 Star Reviews for Our Hori Hori

Recent Posts


The Power of Mounding: An Essential Gardening Technique for Healthy Plants

The Ultimate Guide to Philodendron Birkin – Care, Tips, and Benefits

Watering Plants – Indoor Edition

The Advantages of Built-Up Garden Beds: A Gardener’s Best Friend

The Secret Weapon for Lush Blooms: How to Create the Perfect Fertilizer Schedule


You must be logged in to post a comment.